Keeping a development environment clean and tidy can be a bitch. When you are working on multiple projects across different platforms it can get messy really fast. And if you’re managing a team of people and need them all to run your app locally things can get tricky too. Recently I’ve setup a process so that a pristine development environment can be spun up for a project in glorious isolation. And the best thing is, once you have it set-up, you can spin up new environments in just one command!

Write once, deploy many times has been a goal for rather a long time
Vagrant, Puppet and VirtualBox, the three amigos

Vagrant, Puppet and VirtualBox—the lesser known nicknames of the three amigos
In order to get this utopian ideal working, we are going to setup a virtual machine, and configure it just the way we want it for our project. There are a few great tools we’re going to use to get there. The first of these is VirtualBox. It’s open source virtualization software from Oracle and is a great way to manage virtual machines on your desktop. Next up is Vagrant, which is designed to allow you to describe the machine (or machines) you need to run your project and how you want it networked. Finally Puppet is used for managing the actual configuration of the machine. Although this might seem complicated, it’s actually really simple, especially as I’ve got an example set up that you can use.
Before you begin
You just need two things downloaded before you start. I develop on a Mac, so my instructions are based on that, but in theory this stuff should work on Windows or Linux distros. Hit me up in the comments if you have issues. So without further ado – go get yourself the following:
In case you’re wondering, we don’t need to install Puppet as it will be installed on the virtual machine.
O.K. Go!
The simplest way to show you how to do this is to clone the repo I setup to demonstrate the process. I have a github repo setup to demonstrate simple standalone examples. You can grab the whole thing of you like, but to follow this example check out the base_ruby_environment branch. If that’s all you want, you can type the following command:
git clone -b base_ruby_environment --single-branch https://github.com/eyefodder/spex.git
When you’ve grabbed the repo, cd into the ops folder and type vagrant up Now wait. First time round it will take about ten minutes or so as the environment is downloaded and configured. And then—well, that’s actually it! You now have, sitting there and ready to use, a brand spanking new virtual machine, with sqlite, postgres, git and a bunch of development libraries, ready for you to go do your worst.
Exploring your new VM
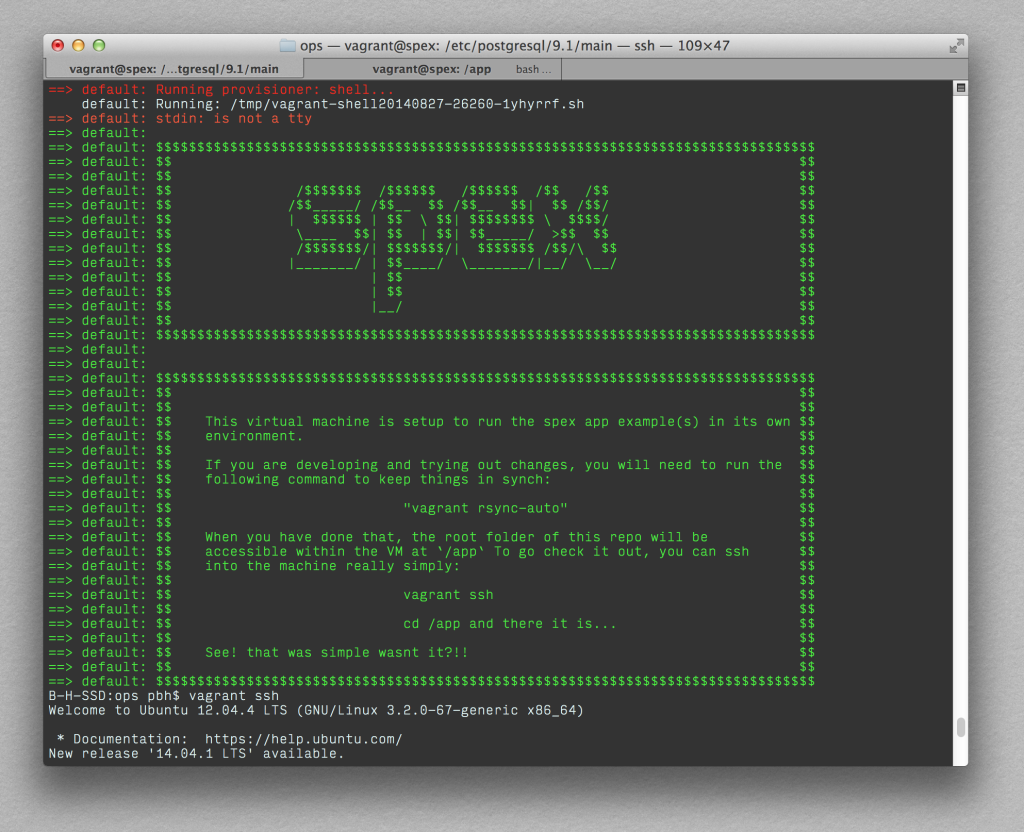
I’ll explain everything that was setup in a minute, but first, let’s have a dig around. When the VM loads up you’ll see a welcome message, which tells you what to do. Basically you need to tell vagrant to keep a folder in sync between the host machine and your new guest. Typing vagrant rsync-auto will do this for you. There are other ways of doing this, but as I explain below, this is the best I’ve found for development. Next, to hop into the actual machine, we simply type vagrant ssh and vagrant opens up an ssh connection into the new dev environment. Simples! If you navigate to the /app folder inside your VM, you’ll see a facsimile of the repo. The ops folder itself isn’t copied into the virtual machine though.
You can now go off and develop to your heart’s content. In my next post I’ll show you how to set up a rails app running in the virtual machine. If you’d like to understand what went on in setting the VM up, then read on…
How the one-click development environment was setup step-by-step
The rest of this post details how the VM gets to the finished state. It’s certainly not essential reading, but you might find it interesting, or even essential for configuring / debugging. We will be skipping between Vagrant (defining the type of box that we are running) and Puppet (configuring the box to suit our needs).
Vagrant: The Vagrantfile
This is basically the configuration file for the virtual machine. You can check out full reference material on the vagrant file here, but below I’ll walk you through the simple example we have going.
Vagrant Box and Hostname
The config.vm.box parameter tells Vagrant the box that the machine will be brought up against. This is either the name of a box you have already installed, or the name of a box in Vagrant Cloud. This is a place where other boxes can be shared. In fact, you will see that in our Vagrantfile, we are using a box I created— eyefodder/precise64-utf8. This is an Ubuntu 12.04 install that I made 2 minor changes to. The first was to update Puppet to 3.6.2 as there are significant improvements over the version that ships with the default box (2.7.x). The second change is to set the default locale on the box to en_US.UTF-8 I had a hell of a time getting postgres setup and found that in order for it to work with default rails encoding of UTF8, you have to set the locale for the machine to be UTF8 and restart before installing postgres. This extra step seemed counter to my desire to get a development box up and running in one command so I made the change, packaged up the box, and posted it on Vagrant Cloud for all to share.
The hostname is simply the name the machine will be given. You can change it to whatever you like.
Networking
Networking is pretty simple in our example, and the syntax makes things pretty easy to follow. For our box, we expose a couple of ports: port 3000 on the guest is forwarded to 3001 on the host, and port 22 to 2222. For more details on other networking options, check out the docs here.
Synced Folders
Synced folders allow you to work in your familiar desktop environment, yet have the files you’re working on magically appear in the virtual machine. Syncing can happen via a number of methods, and I’ve included two to give you a sense of it. The default when working with VirtualBox machines is a VirtualBox shared folder. This is a two-way sync: if you add files to the folder within the VM, they will appear on your desktop and vice versa. We use this for managing our Puppet install.
The second type we use is rsync. What this does is use rsync to copy files into the virtual machine. It’s a one-way operation and in order to keep things in sync, we need to tell vagrant to run the process vagrant rysnc-auto to keep watching for changes. Why use this when other synched folder mechanisms seem so much simpler? The reasons are two-fold. First off, I’ve found the performance when running a server to be much better. Secondly, and this one is critical for me: when I’m developing, I use Guard to watch for file changes and use that to trigger selective running of my tests. Rsync seems to be the only way to get file change events triggered in the guest machine to kick off Guard. The net impact is just that I have to run that extra vagrant rsync-auto command, and I can live with that…
VirtualBox Specific Configuration
Vagrant is a nice layer on top of many virtualization providers. And for the most part, as we’ve seen above, the differences between platforms are abstracted away. But for fine tuning, you sometimes need to provide provider specific configuration options. In our example, we are setting the maximum memory to 1GB and setting the name that appears in the VirtualBox GUI to ‘spex‘. You can see all the other config options for VirtualBox here.
Provisioning the Box
Provisioning allows you to install the software you need to use your machine for your particular use case in an automated manner. Vagrant gives you a number of options for doing this, including simple shell scripts and popular configuration management systems like Chef and Puppet. For our example, we are going to use a shell script to install some modules required by puppet, then stick with puppet for the rest of the configuration.
The shell script
The first thing that is run is a shell script named install_puppet_modules.sh This does a few things that get us ready for the main event of using Puppet to configure the machine:
- Update the package list on the machine with apt-get update
- Update Puppet (if one is available) with gem update puppet
- Install the APT puppet module with
puppet module install puppetlabs-apt - Install the postgresql puppet module with
puppet module install puppetlabs-postgresql
A couple of things to note about the puppet module installation. Note we explicitly set the path the modules are getting installed into using --modulepath /etc/puppet/modules/. This is so we explicitly know where to check to see if they have been installed already. The goal of a config script like this is that you can run it multiple times without issue. I’ve also found that as I get to use more puppet modules, it’s helpful to look at the source code, and the place we installed the modules just so happens to be one of our shared folders. Neat huh? Now we have these modules (and their dependencies automatically) installed, we can get to the meat of configuration: the Puppet file.
Puppet
Puppet is great, but there’s quite a learning curve to it. I’m not going to go into tonnes of detail here; and there is great free training material out there. I’ll walk you through what I’ve used puppet for with our simple example though. To follow the trail, check out ops/puppet/manifests/default.pp as that’s our entry point into the configuration:
Exec {
  path => "/usr/bin:/usr/local/bin:/bin:/usr/local/sbin:/usr/sbin:/sbin:/opt/vagrant_ruby/bin"
}
include spex::base_packages
include spex::postgres_setup
include spex::ruby_setup
We see three include statements here, and they each refer to a different stage of configuration of our development environment. You will find each class in the ops/puppet/modules/spex folder. I’ll cover each of them in turn:
Base Packages
If you take a look inside ops/puppet/modules/spex/base_packages.pp you’ll see the general structure for declaring what packages you want to be present on your machine:
  package { "build-essential":
    ensure => installed,
  }
The puppet DSL is pretty simple to grok once you’ve seen some examples. Here, we tell puppet the name of the package we want, then tell it we want to ensure that it’s ‘installed’. The rest of the file does the same for other dev packages we want.
Postgres Setup
A little more complex is the setup of Postgres. The first block: trust_local_traffic, adds some rules to the postgres authentication file to allow us to connect within our dev environment pretty easily. Basically the declaration:
  postgresql::server::pg_hba_rule{ 'trust_unix_all':
    type        => 'local',
    database    => 'all',
    user        => 'all',
    auth_method => 'trust',
    order       => '00001',
  }
generates an entry in the authentication file entry like this:
# Rule Name: trust_unix_all
# Description: none
# Order: 00001
local all all   trust
Ruby Setup
Last but by no means least, we need to have Ruby up and running. This of course assumes you’re going to develop in Ruby; if you’re using another language, you can use this as a guide. The first thing we do is to add the package repository that hosts Ruby packages for Ubuntu releases from 10.04 onwards:
  apt::ppa{'ppa:brightbox/ruby-ng-experimental':
    before => Package['ruby'],
  }
Next, we use Hiera to grab a configuration variable for the package we actually want to install. Hiera is a simple way to separate code from configuration when using puppet. We could have used it more in the setup of the app, but for now, suffice it to say that config variables are kept in /ops/puppet/hieradata/common.yaml. In there you will see that we are installing the ruby2.1-dev package. You could swap this out for a different package if you needed it. The ruby package is installed just like we saw in the base_packages.pp file.
Finally, we install bundler:
package {'bundler':
    ensure  => 'installed',
    require => Package['ruby'],
    provider => 'gem',
  }
Note that we tell Puppet that bundler is being installed using gem as a provider rather than the default apt-get. This shows how simple it is to define the packages we want as well as where they come from. The last thing I want to show about this class is how we specify an order of execution. Usually with Puppet, we let it decide the most efficient way to execute the configuration of the machine. But sometimes things have to happen in a specific order. So here, the addition of the repository is specified to execute before ruby is installed; and that before bundler is installed, we require ruby to be present.
And Finally…
Finally, once Puppet has done its magic, we run a simple shell script post_up_message.sh to give you a bit more detail about what to do next. In my next post about using the environment for Rails development, we’ll use this for a little more heavy lifting, but for now, go exploring!